Chevrolet Cruze Repair Manual: Air Conditioning Condenser Replacement (1.6L LDE, LXT, LXV, and 1.8L 2H0)
Removal Procedure
- Recover the refrigerant. Refer to Refrigerant Recovery and Recharging.
- Disconnect battery negative cable. Refer to Battery Negative Cable Disconnection and Connection.
- Remove front bumper fascia. Refer to Front Bumper Fascia Replacement.
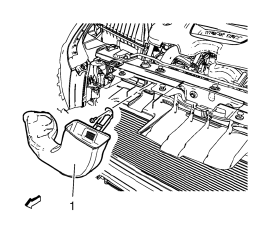
- Remove air intake duct (1).
- Remove radiator support replacement. Refer to Radiator Support Replacement.
- Remove A/C compressor and condenser hose from condenser. Refer to Air Conditioning Compressor and Condenser Hose Replacement.
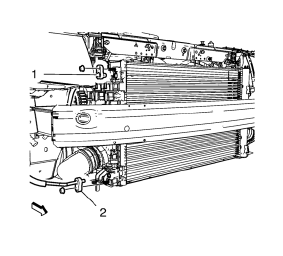
- Remove condenser hose bolt and condenser hose (1, 2).
- Remove A/C refrigerant pressure sensor. Refer to Air Conditioning (A/C) Refrigerant Pressure Sensor Replacement.
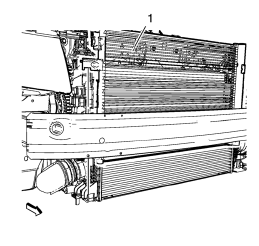
- Remove condenser.
Installation Procedure
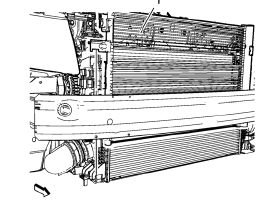
- Install condenser.
- Install A/C refrigerant pressure sensor. Refer to Air Conditioning (A/C) Refrigerant Pressure Sensor Replacement.
Caution: Refer to Fastener Caution in the Preface section.
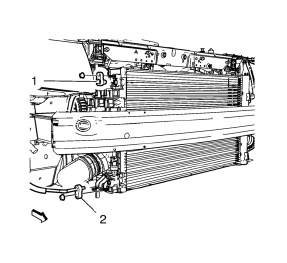
- Install condenser hose (1, 2) and condenser hose bolt and tighten to 19 N·m (15 lb ft).
- Install A/C compressor and condenser hose to condenser. Refer to Air Conditioning Compressor and Condenser Hose Replacement
- Install radiator support. Refer to Radiator Support Replacement.
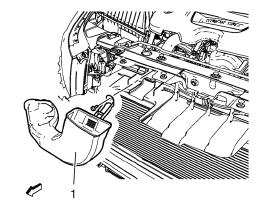
- Install air intake duct (1).
- Install front bumper fascia. Refer to Front Bumper Fascia Replacement.
- Connect battery negative cable. Refer to Battery Negative Cable Disconnection and Connection.
- Evacuate and charge the refrigerant system. Refer to Refrigerant Recovery and Recharging.
 Air Conditioning Evaporator Hose Assembly Replacement
Preliminary Procedures
Recover the refrigerant. Refer to Refrigerant Recovery and Recharging.
Remove the headlamp - right side. Refer to Headlamp Replacement.
Loosen power steering fluid r ...
 Instrument Panel Outer Air Outlet Replacement - Left Side
Preliminary Procedure
Remove instrument panel lower trim pad cover - left side. Refer to
Instrument Panel Lower Trim Pad Cover Replacement.
Remove instrument panel cluster trim plat ...
Other materials:
Installation Procedure
Clean and prepare the attaching surfaces for welding.
Apply structural adhesive to the attaching flanges.
Position the body side outer lower panel on the vehicle
Verify the fit of the body side outer lower panel.
Clamp the body side outer lower panel into position.
Spot ...
Roof
Specifications
Sunroof Schematics
Sunroof Component Views
Sunroof Frame
Sunroof Sunshade
Sunroof Window
Sunroof Window Seal
Sunroof Housing Rear Drain Hose
Sunroof Housing Drain Gutter
Sunroof Frame Bolts
Sunroof Window Guide
Sunroof Air Deflector Cover
Su ...
Tire Pressure Monitor System
The Tire Pressure Monitor System (TPMS) uses radio and sensor technology to check
tire pressure levels. The TPMS sensors monitor the air pressure in your tires and
transmit tire pressure readings to a receiver located in the vehicle.
Each tire, including the spare (if provided), should be check ...
