Chevrolet Cruze Repair Manual: Installation Procedure
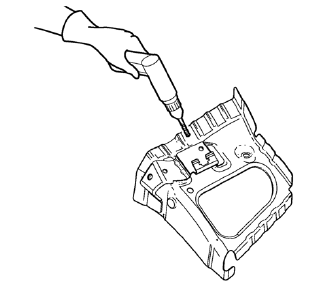
- Drill 8 mm (5/16 in) for plug welding along the edges of the front wheelhouse front panel as noted from the original panel.
- Drill 8 mm (5/16 in) for plug welding where front wheelhouse front panel and front wheelhouse overlap.
- Clean and prepare the attaching surfaces for welding.
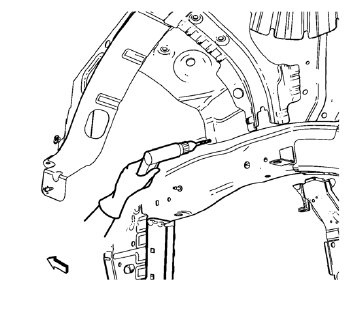
- Position the front wheelhouse front panel on the vehicle.
- Verify the fit of the front wheelhouse front panel.
- Clamp the front wheelhouse front panel into position.
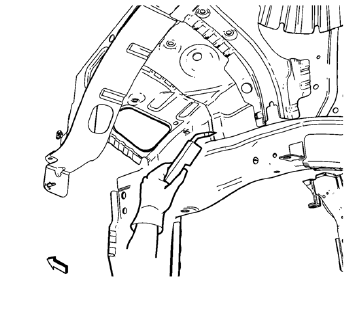
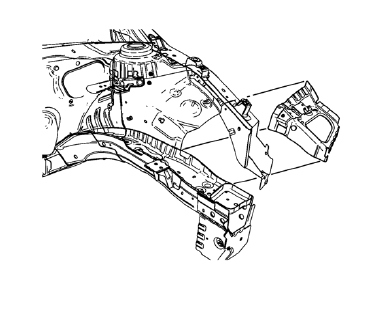
- Plug weld the joint from front wheelhouse front panel to front wheelhouse accordingly.
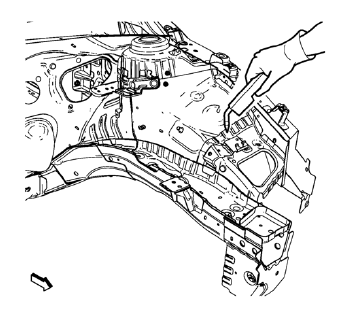
- Apply the sealers and anti-corrosion materials to the repair area, as necessary. Refer to Anti-Corrosion Treatment and Repair.
- Paint the repaired area. Refer to Basecoat/Clearcoat Paint Systems.
- Install all related panels and components.
- Connect the negative battery cable. Refer to Battery Negative Cable Disconnection and Connection.
- Enable the SIR system. Refer to SIR Disabling and Enabling.
 Removal Procedure
Warning: Refer to Approved Equipment for Collision Repair Warning in
the Preface section.
Warning: Refer to Glass and Sheet Metal Handling Warning in the Preface
section.
Disable the SIR Syst ...
 Front Wheelhouse Front Panel Replacement (MIG-Brazing)
Note: According to different corrosion warranties, only the
regional mandatory joining methods are allowed. ...
Other materials:
Symbols
The vehicle has components and labels that use symbols instead of text. Symbols
are shown along with the text describing the operation or information relating to
a specific component, control, message, gauge, or indicator.
: This symbol is shown when you need
to see your owner manual for addi ...
Tire Rotation
Tires should be rotated every 12 000 km (7,500 mi).
Tires are rotated to achieve a uniform wear for all tires. The first rotation
is the most important.
Anytime unusual wear is noticed, rotate the tires as soon as possible, check
for proper tire inflation pressure, and check for damaged tires ...
Removal Procedure
Warning: Refer to Approved Equipment for Collision Repair Warning in the
Preface section.
Warning: Refer to Glass and Sheet Metal Handling Warning in the Preface section.
Disable the SIR System. Refer to SIR Disabling and Enabling.
Disconnect the negative battery cable. Refer to Bat ...
