Chevrolet Cruze Repair Manual: Installation Procedure
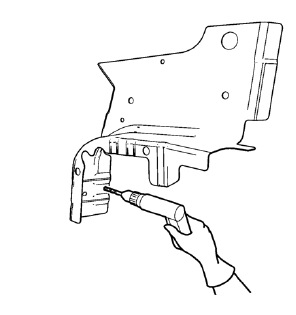
- Create 5 x 18 mm (4/16 x 11/16 in) slots for MIG-Brazing along the edges of the front wheelhouse panel rear reinforcement as noted from the original panel.
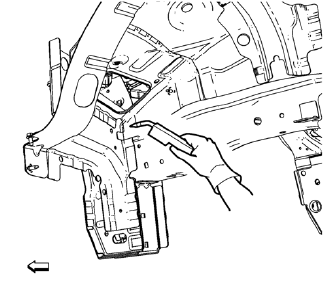
- Create a 5 x 18 mm (4/16 x 11/16 in) slot for MIG-Brazing where front wheelhouse front panel and front wheelhouse panel rear reinforcement overlap.
- Clean and prepare the attaching surfaces for brazing.
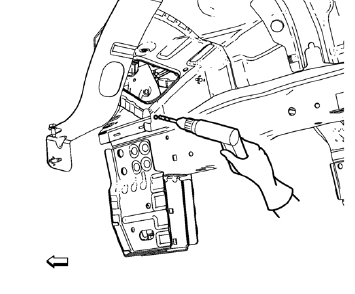
- Position the front wheelhouse panel rear reinforcement on the vehicle.
- Verify the fit of the front wheelhouse panel rear reinforcement.
- Clamp the front wheelhouse panel rear reinforcement into position.
- Braze accordingly.
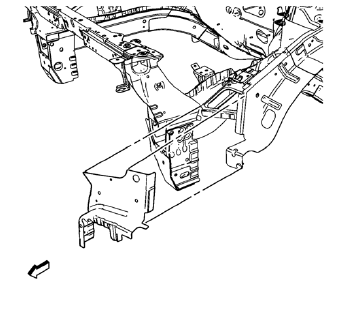
- Braze the joint from front wheelhouse panel rear reinforcement to front wheelhouse front panel accordingly.
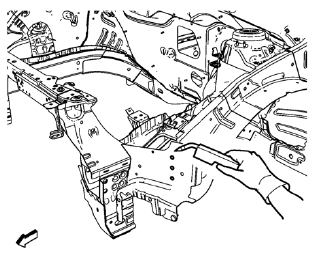
- Apply the sealers and anti-corrosion materials to the repair area, as necessary. Refer to Anti-Corrosion Treatment and Repair.
- Paint the repaired area. Refer to Basecoat/Clearcoat Paint Systems.
- Install all related panels and components.
- Connect the negative battery cable. Refer to Battery Negative Cable Disconnection and Connection.
- Enable the SIR system. Refer to SIR Disabling and Enabling.
 Removal Procedure
Warning: Refer to Approved Equipment for Collision Repair Warning in the
Preface section.
Warning: Refer to Glass and Sheet Metal Handling Warning in the Preface section.
Disable the SIR Syst ...
 Front Compartment Upper Side Rail Replacement (MAG-Welding)
Note: According to different corrosion warranties, only the
regional mandatory joining methods are allowed. ...
Other materials:
Variable Effort Steering System Description and Operation
The Variable Effort Steering (VES) system or MAGNASTEER® varies the amount of
effort required to steer the vehicle as vehicle speed
changes. At low speeds, the system provides minimal steering effort for easy
turning and parking maneuvers. Steering effort is increased
at higher speeds to provi ...
Brakes
This vehicle has front disc brakes and could have rear drum brakes or rear disc
brakes.
Disc brake pads have built-in wear indicators that make a high-pitched warning
sound when the brake pads are worn and new pads are needed.
The sound can come and go or be heard all the time the vehicle is m ...
Winter Tires
This vehicle was not, originally, equipped with winter tires. Winter tires are
designed for increased traction on snow and ice-covered roads. Consider installing
winter tires on the vehicle if frequent driving on snow or ice-covered roads is
expected. See your dealer for details regarding wint ...
