Chevrolet Cruze Repair Manual: Installation Procedure
- Drill 8 mm (5/16 in) for plug welding along the edges of the service panel as noted from the original panel.
- Clean and prepare the attaching surfaces for welding.
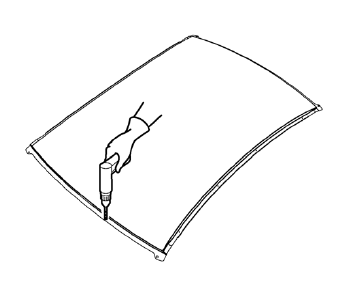
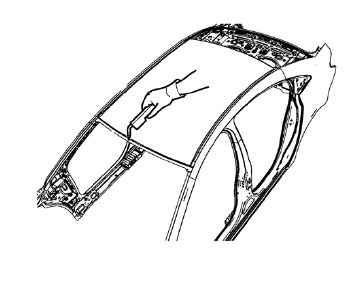
- Apply one-part windshield urethane adhesive as noted from the original panel.
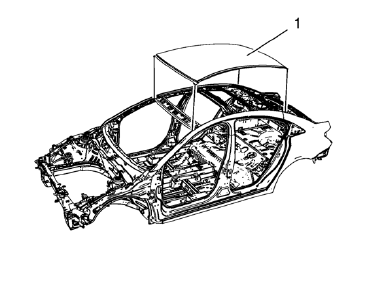
- Position the roof panel (1) on the vehicle.
- Verify the fit of the panel.
- Clamp the panel into position.
- Plug weld accordingly.
- Apply the sealers and anti-corrosion materials to the repair area, as necessary. Refer to Anti-Corrosion Treatment and Repair.
- Paint the repaired area. Refer to Basecoat/Clearcoat Paint Systems.
- Install all related panels and components.
- Connect the negative battery cable. Refer to Battery Negative Cable Disconnection and Connection.
- Enable the SIR system. Refer to SIR Disabling and Enabling.
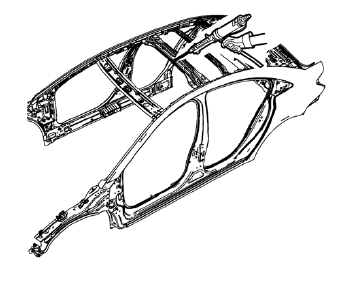
 Removal Procedure
Warning: Refer to Approved Equipment for Collision Repair Warning in
the Preface section.
Disable the SIR System. Refer to SIR Disabling
and Enabling.
Disconnect the negative battery ...
 Roof Outer Panel Replacement (MIG-Brazing)
Note: According to different corrosion warranties, only the
regional mandatory joining methods are allowed. ...
Other materials:
Inflatable Restraint Module Handling and Scrapping
Special Tools
EL-38826 SIR Deployment Harness
EL-39401-B SIR Deployment Fixture
For equivalent regional tools, refer to Special Tools.
Live and Undeployed Inflator Module
Warning: Refer to SIR Inflator Module Handling and Storage Warning
in the Preface section.
Take special care when h ...
Safety System Check
Now and then, check that the safety belt reminder light, safety belts, buckles,
latch plates, retractors, and anchorages are all working properly.
Look for any other loose or damaged safety belt system parts that might keep
a safety belt system from doing its job. See your dealer to have it rep ...
OnStar Overview
If equipped, this vehicle has a comprehensive, in-vehicle system that can connect
to a live Advisor for Emergency, Security, Navigation, Connection, and Diagnostic
Services.
The OnStar system status light is next to the OnStar buttons. If the status light
is:
• Solid Green: System is ready ...
