Chevrolet Cruze Owners Manual: Air Vents
Adjustable air vents are in the center and on the side of the instrument panel.
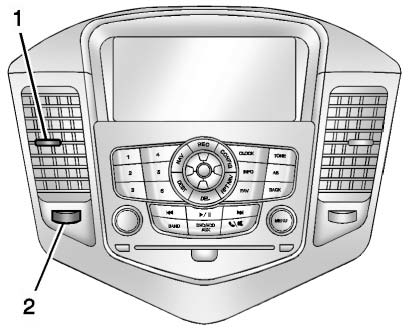
Move the slats (1) to change the direction of the airflow.
Use the thumbwheels (2) near the air vents to open or close off the airflow.
Additional air vents are located beneath the windshield, driver and passenger side door windows, and in the footwells. These are fixed and cannot be adjusted.
Operation Tips
• Clear away any ice, snow, or leaves from air inlets at the base of the windshield that could block the flow of air into the vehicle.
• Keep the path under the front seats clear of objects to help circulate the air inside of the vehicle more effectively.
• Use of non-GM approved hood deflectors can adversely affect the performance of the system.
Check with your dealer before adding equipment to the outside of the vehicle.
 Climate Control Systems
The heating, cooling, defrosting, and ventilation for the vehicle can be controlled with these systems.
Vehicles without Air Conditioning
1. Temperature Control.
2. Bi-level Air Mode.
...
 Maintenance
...
Other materials:
Removal Procedure
Warning: Refer to Cracked Window Warning in the Preface section.
Warning: Refer to Glass and Sheet Metal Handling Warning in the Preface section.
Note: Position the vehicle on level ground and move the front
wheels to the straight-ahead position.
Disconnect battery.
Remove quarter window ...
Starter Switch Check
WARNING
When you are doing this inspection, the vehicle could move suddenly. If the
vehicle moves, you or others could be injured.
1. Before starting this check, be sure there is enough room around the vehicle.
2. Firmly apply both the parking brake and the regular brake.
Do not use the accele ...
Installation Procedure
Note: If the location of the original plug weld holes can not be
determined, space the plug weld holes every 40 mm (1½ in).
Drill 8 mm (5/16 in) for plug welding along the edges of the body rear
end panel as noted from the original panel.
Clean and prepare the attaching s ...
