
Chevrolet Cruze Repair Manual: Body Waterleak Repair
Warning: If the vehicle interior is exposed to moisture and becomes soaked up to the level of the sensing and diagnostic module (SDM), the SDM and SDM harness connector must be replaced. The SDM could be activated when powered, which could cause airbag deployment and result in personal injury.
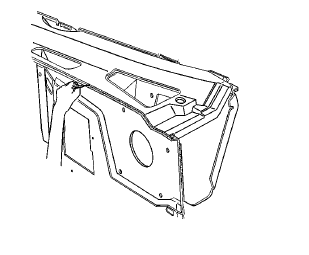
Depending on the location of the waterleak, you may have to remove certain interior components in order to repair the leak.
- If the floor carpet is wet refer to Floor Carpet Drying.
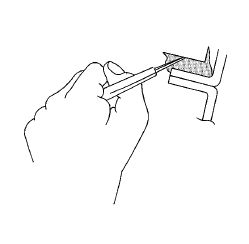
- Cut out a portion of the adhesive caulking in the leak area from inside or outside of the vehicle.
- Clean and remove all loose particles of the adhesive old caulking from the area.
- Apply joint body and seam sealer where the old adhesive caulking was removed.
- Allow the adhesive caulking to dry for several hours.
- Test for leaks.
- Install the trim, if removed.
 Air Hose Test
Caution: The air hose test should only be used on fully cured
urethane adhesive. Otherwise, damage to the urethane adhesive bead
could result in additional leaks.
Using a liquid detergent, ...
 Stationary Window Waterleak Repair
Note: If any water enters the vehicle interior up to the level of
the carpet or higher and soaks the carpet, the sensing and diagnostic
module (SDM) and the SDM harness connector may need to be rep ...
Other materials:
Headlamps, Front Turn Signal and Parking Lamps
1. Parking/Turn Signal Lamp
2. High-Beam Headlamp/ Low-Beam Headlamp and DRL
High-Beam Headlamp/ Low-Beam Headlamp and DRL
1. Open the hood
2. For the driver side bulb, remove the windshield washer bottle filler neck by
firmly pulling it straight up and out of the bottle.
3. Remove the co ...
Removal Procedure
Warning: Refer to Approved Equipment for Collision Repair Warning in the
Preface section.
Warning: Refer to Collision Sectioning Warning in the Preface section.
Warning: Refer to Glass and Sheet Metal Handling Warning in the Preface section.
Disable the SIR System. Refer to SIR Dis ...
Rear Wheel Bearing and Hub Replacement (Disc Brake)
Special Tools
EN 45059 Torque Angle Sensor Kit
For equivalent regional tools, refer to Special Tools.
Removal Procedure
Raise and suitably support the vehicle. Refer to Lifting and
Jacking the Vehicle.
Remove the tire and wheel assembly. Refer to Tire and Wheel Removal and
...
