Chevrolet Cruze Repair Manual: Installation Procedure
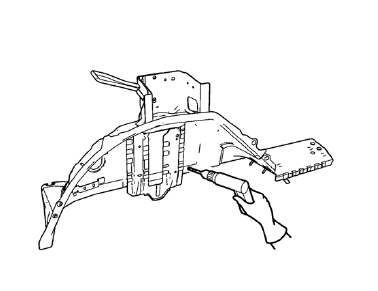
- Create 6 x 20 mm (4/16 x 12/16 in) slots for MIG-brazing along the edges of the rear inner wheelhouse as noted from the original panel.
Note: If the location of the original plug weld holes can not be determined, space the slots every 40 mm (1½ in).
- Clean and prepare the attaching surfaces for welding.
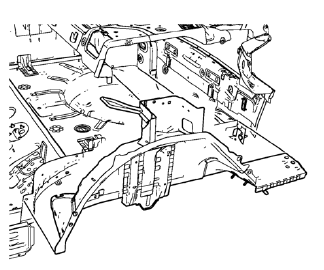
- Position the rear inner wheelhouse on the vehicle.
- Verify the fit of the rear inner wheelhouse.
- Clamp the rear inner wheelhouse into position.
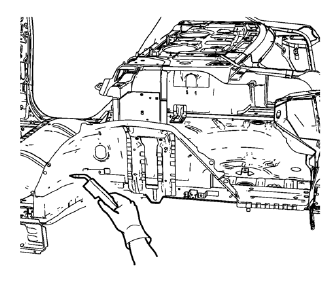
- Braze accordingly.
- Apply the sealers and anti-corrosion materials to the repair area, as necessary. Refer to Anti-Corrosion Treatment and Repair.
- Paint the repaired area. Refer to Basecoat/Clearcoat Paint Systems.
- Install all related panels and components.
- Connect the negative battery cable. Refer to Battery Negative Cable Disconnection and Connection.
- Enable the SIR system. Refer to SIR Disabling and Enabling.
 Removal Procedure
Warning: Refer to Approved Equipment for Collision Repair Warning in the
Preface section.
Warning: Refer to Glass and Sheet Metal Handling Warning in the Preface section.
Disable the SIR Syst ...
 Quarter Outer Panel Sectioning (MAG-Welding)
Special Tools
BO-6396 Bonding Pliers
BO-6392 Flanging Tool Kit
For equivalent regional tools, refer to Special Tools
Note: According to different corrosion warranties, only the
regional ma ...
Other materials:
How Does an Airbag Restrain?
In moderate to severe frontal or near frontal collisions, even belted occupants
can contact the steering wheel or the instrument panel. In moderate to severe side
collisions, even belted occupants can contact the inside of the vehicle.
Airbags supplement the protection provided by safety belts ...
Removal Procedure
Warning: Refer to Approved Equipment for Collision Repair Warning in the
Preface section.
Warning: Refer to Collision Sectioning Warning in the Preface section.
Warning: Refer to Glass and Sheet Metal Handling Warning in the Preface section.
Disable the SIR System. Refer to SIR Dis ...
Removal Procedure
Warning: Refer to Approved Equipment for Collision Repair Warning in the
Preface section.
Warning: Refer to Glass and Sheet Metal Handling Warning in the Preface section.
Disable the SIR System. Refer to SIR Disabling
and Enabling.
Disconnect the negative battery cable. Refer to Batter ...
