Chevrolet Cruze Repair Manual: Installation Procedure
- Prepare all mating surfaces as necessary.
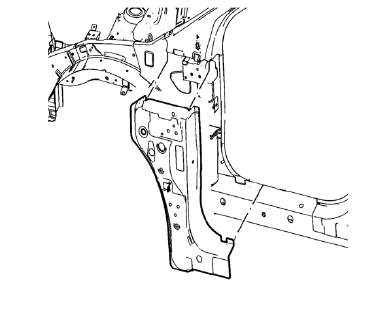
- Align the front hinge pillar body reinforcement.

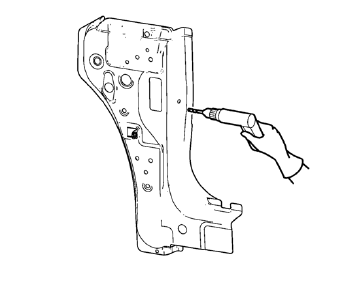
- Create 6 x 20 mm (4/16 x 12/16 in) slots for MIG-brazing in locations where you can not apply a resistance spot welder.
- Clean and prepare the attaching surfaces for spot welding and brazing.

- Position the front hinge pillar body reinforcement on the vehicle.
- Verify the fit of the front hinge pillar body reinforcement.
- Clamp the front hinge pillar body reinforcement into position.

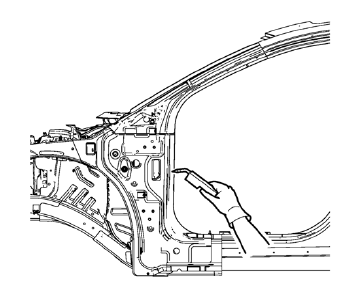
- Plug weld accordingly.

- Spot weld accordingly.
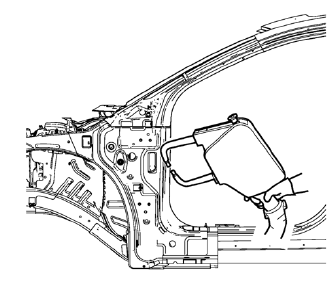
- Apply the sealers and anti-corrosion materials to the repair area, as necessary. Refer to Anti-Corrosion Treatment and Repair.
- Paint the repaired area. Refer to Basecoat/Clearcoat Paint Systems
- Install all related panels and components.
- Connect the negative battery cable. Refer to Battery Negative Cable Disconnection and Connection.
- Enable the SIR system. Refer to SIR Disabling and Enabling.
 Removal Procedure
Warning: Refer to Approved Equipment for Collision Repair Warning in the
Preface section.
Warning: Refer to Collision Sectioning Warning in the Preface section.
Warning: Refer to Glass and She ...
 Roof Outer Panel Replacement (MAG-Welding)
Note: According to different corrosion warranties, only the
regional mandatory joining methods are allowed ...
Other materials:
Fuel Gauge
When the ignition is on, the fuel gauge indicates about how much fuel is left
in the tank.
An arrow on the fuel gauge indicates the side of the vehicle the fuel door is
on.
A FUEL LEVEL LOW message may appear in the Driver Information Center (DIC) and
a single chime sounds.
Here are four ...
Low-Profile Tires
If the vehicle has P225/45R18 size tires, they are classified as low‐profile
tires. These tires are designed for very responsive driving on wet or dry pavement,
however, may produce more road noise and tend to wear faster.
Notice: Low-profile tires are more susceptible to damage from road ...
Vehicle Messages
Messages displayed on the DIC indicate the status of the vehicle or some action
that may be needed to correct a condition. Multiple messages may display one after
the other.
The messages that do not require immediate action can be acknowledged and cleared
by pressing SET/CLR. The messages tha ...
