Chevrolet Cruze Repair Manual: Air Conditioning Compressor and Condenser Hose Replacement (1.6L LXT)
Removal Procedure
- Recover the refrigerant. Refer to Refrigerant Rec overy and Recharging.
- Remove front bumper fascia. Refer to Front Bumper Fascia Replacement.
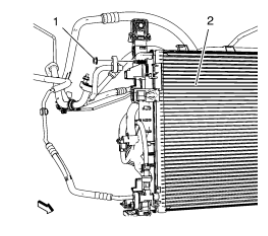
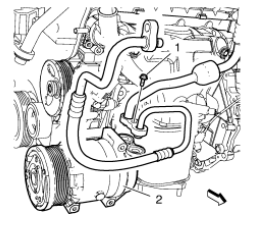
- Remove A/C compressor and condenser hose nut (1) from A/C condensor (2).
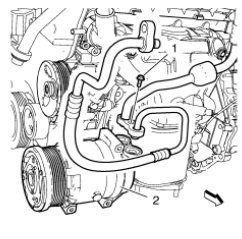
- Remove A/C compressor and condenser hose bolt (1) from A/C compressor (2).
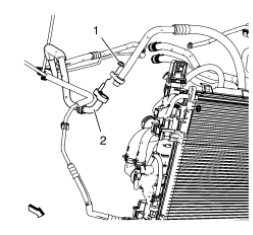
- Remove A/C compressor and condenser hose nut (1) from refrigerant hose (2).
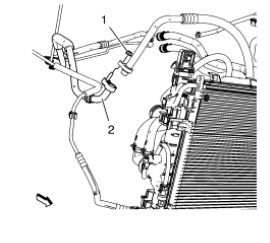
- Remove A/C compressor and condenser hose.
Installation Procedure
Note: Use NEW O-ring seals. Refer to O-Ring Replacement.
- Install A/C compressor and condenser hose.
Caution: Refer to Fastener Caution in the Preface section.
- Install A/C compressor and condenser hose nut (1) to refrigerant hose (2). Tighten nut to 19 N·m (14 lb ft).
- Install A/C compressor and condenser hose bolt (1) to A/C compressor (2). Tighten bolt to 19 N·m (14 lb ft).
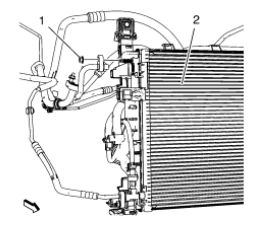
- Install air conditioning compressor and condenser hose nut (1) to A/C condenser (2). Tighten nut to 19 N·m (14 lb ft).
- Install front bumper fascia. Refer to Front Bumper Fascia Replacement.
- Evacuate and charge the refrigerant system. Refer to Refrigerant Recovery and Recharging.
 Air Conditioning Compressor Replacement (1.6L LXT)
Preliminary Procedures
Recover the refrigerant. Refer to Refrigerant Rec overy and
Recharging.
Remove drive belt. Refer to Generator and Air Conditioning Compressor
and Power Ste ...
 Air Conditioning Compressor and Condenser Hose Replacement (1.6L LDE, LXV,
and 1.8L 2H0)
Air Conditioning Compressor and Condenser Hose Replacement (1.6L LDE, LXV,
and 1.8L 2H0)
Removal Procedure
Recover the refrigerant. Refer to Refrigerant Recovery and Recharging
Remove front bumper fascia. Refer to Front Bumper Fascia Replacement
Remove A/C compressor and c ...
Other materials:
Overlap/Backing Plate Sectioning (Welding)
Warning: Refer to Approved Equipment for Collision Repair Warning in
the Preface section.
Fit the service panel to the vehicle to ensure a proper fit.
Measure and mark a line at the sail panel 120 mm (4 3/4 in) from the
back glass opening and 70 mm (2 3/4 in) rearward from the ...
Dual Stage Inflator Modules
Dual stage inflator modules contain a housing, inflatable air bag, two
initiating devices, canister of gas generating material and, in some
cases, stored compressed gas. The two initiators are part of the frontal
deployment loop. The function of the frontal deployment loops are
to supply curre ...
Front Side Door Weatherstrip Replacement - Body Side
Front Side Door Weatherstrip - Body Side
Procedure
Start at the rear upper corner of the door opening and pull the
weatherstrip away from the door opening flange.
Position the weatherstrip in the upper corner of the center pillar.
Working downward along the front edge, in ...
