
Chevrolet Cruze Repair Manual: Installation Procedure
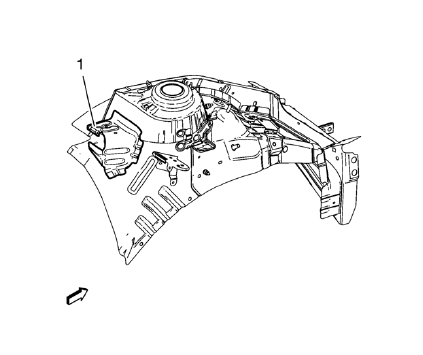
- Remove the front wheelhouse rear panel brace (1) from service panel.
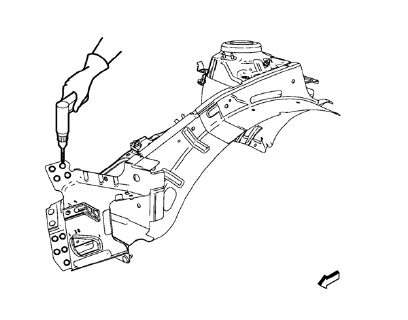
- Drill 8 mm (5/16 in) for plug welding instead of the adhesive noted from the front area of the original panel.
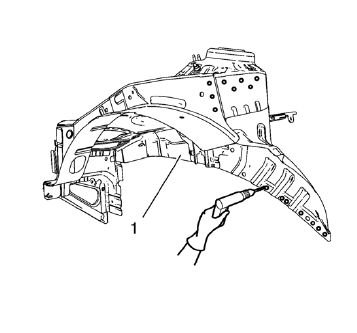
Note: Double the number of drills at the flange where front wheelhouse panel and front compartment side rail overlap (1).
- Drill 8 mm (5/16 in) for plug welding along the edges of the front wheelhouse as noted from the original panel.
- Clean and prepare the attaching surfaces for welding.
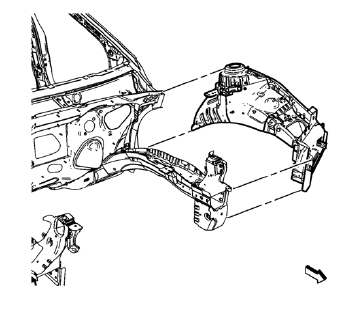
- Position the front wheelhouse on the vehicle.
- Verify the fit of the front wheelhouse.
- Clamp the front wheelhouse into position.
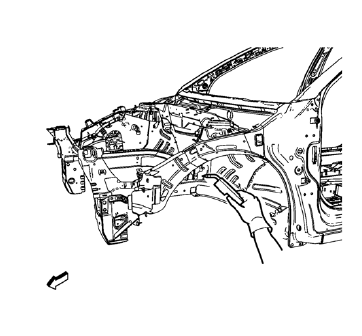
- Plug weld accordingly.
- Apply the sealers and anti-corrosion materials to the repair area, as necessary. Refer to Anti-Corrosion Treatment and Repair.
- Paint the repaired area. Refer to Basecoat/Clearcoat Paint Systems.
- Install all related panels and components.
- Connect the negative battery cable. Refer to Battery Negative Cable Disconnection and Connection.
- Enable the SIR system. Refer to SIR Disabling and Enabling.
 Removal Procedure
Warning: Refer to Approved Equipment for Collision Repair Warning in the
Preface section.
Warning: Refer to Glass and Sheet Metal Handling Warning in the Preface section.
Disable the SIR Syst ...
 Front Wheelhouse Panel Replacement (MIG-Brazing)
Note: According to different corrosion warranties, only the
regional mandatory joining methods are allowed. ...
Other materials:
Radio Reception
Frequency interference and static can occur during normal radio reception if
items such as phone chargers, vehicle convenience accessories, and external electronic
devices are plugged into the accessory power outlet. If there is interference or
static, unplug the item from the accessory power ...
Tire Sidewall Labeling
Useful information about a tire is molded into its sidewall. The examples show
a typical passenger vehicle tire and a compact spare tire sidewall.
Passenger (P-Metric) Tire Example
(1) Tire Size: The tire size is a combination of letters and numbers used
to define a particular tire's wid ...
Rear Side Door Weatherstrip Replacement - Body Side
Rear Side Door Weatherstrip - Body Side
Procedure
Start at the front upper corner of the door opening and pull the
weatherstrip away from the door opening flange.
Position the weatherstrip in the upper corner of the center pillar.
Working downward along the front edge, in ...
