
Chevrolet Cruze Repair Manual: Installation Procedure
- Align the body side outer panel reinforcement.
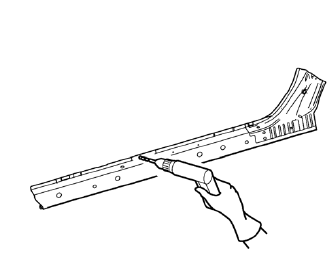
- Drill 8 mm (5/16 in) for plug welding along the edges of the body side outer panel reinforcement as noted from the original panel.
- Clean and prepare the attaching surfaces for welding.
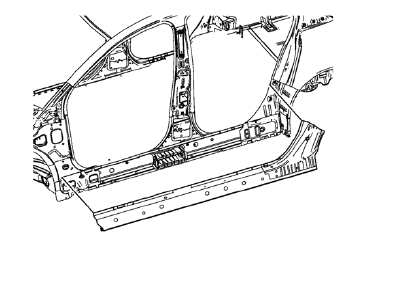
- Position the body side outer panel reinforcement on the vehicle.
- Verify the fit of the body side outer panel reinforcement.
- Clamp the body side outer panel reinforcement into position.
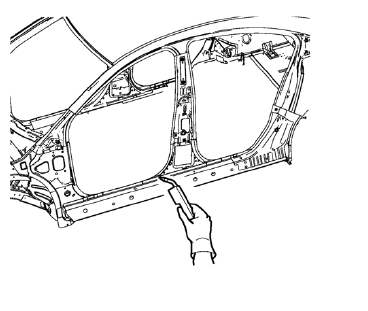
- Plug weld accordingly.
- Apply the sealers and anti-corrosion materials to the repair area, as necessary. Refer to Anti-Corrosion Treatment and Repair.
- Paint the repaired area. Refer to Basecoat/Clearcoat Paint Systems.
- Install all related panels and components.
- Connect the negative battery cable. Refer to Battery Negative Cable Disconnection and Connection.
- Enable the SIR system. Refer to SIR Disabling and Enabling.
 Removal Procedure
Warning: Refer to Approved Equipment for Collision Repair Warning in the
Preface section.
Warning: Refer to Collision Sectioning Warning in the Preface section.
Warning: Refer to Glass and She ...
 Body Side Outer Panel Reinforcement Replacement (MIG-Brazing)
Note: According to different corrosion warranties, only the
regional mandatory joining methods are allowed. ...
Other materials:
Instrument Panel Cluster Lower Trim Plate Replacement
Preliminary Procedure
Remove instrument panel cluster trim plate. Refer to Instrument Panel Cluster
Trim Plate Replacement.
Instrument Panel Cluster Lower Trim Plate Screw (Qty: 4)
Caution: Refer to Fastener Caution in the Preface section.
Tighten
2.5 N·m (23 lb in)
Instrument Pa ...
Steering Wheel Inflatable Restraint Module Replacement
Removal Procedure
Warning: When carrying a live inflator module, make sure the bag opening
is pointed away from you. This minimizes the chance of injury
in the case of an accidental deployment. Never carry the inflator module by the
wires. Never carry the inflator module by the connector on
t ...
Installation Procedure
Drill 8 mm (5/16 in) for plug welding along the edges of the tail lamp
pocket as noted from the original panel.
Note:
Clean and prepare the attaching surfaces for welding.
Position the tail lamp pocket on the vehicle.
Verify the fit of the tail lamp pocket.
Clamp ...
