Chevrolet Cruze Repair Manual: Installation Procedure

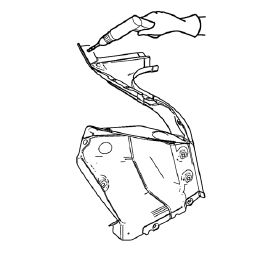
- Drill 8 mm (5/16 in) for plug welding along the edges of the tail lamp pocket as noted from the original panel.
Note:
- Clean and prepare the attaching surfaces for welding.

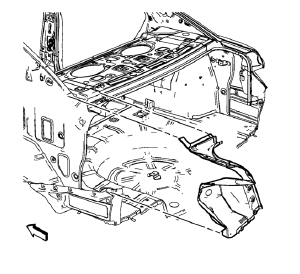
- Position the tail lamp pocket on the vehicle.
- Verify the fit of the tail lamp pocket.
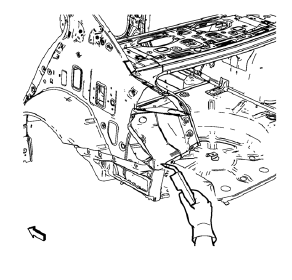
- Clamp the tail lamp pocket into position.

- Plug weld accordingly.
- Apply the sealers and anti-corrosion materials to the repair area, as necessary. Refer to Anti-Corrosion Treatment and Repair.
- Paint the repaired area. Refer to Basecoat/Clearcoat Paint Systems.
- Install all related panels and components.
- Connect the negative battery cable. Refer to Battery Negative Cable Disconnection and Connection.
- Enable the SIR system. Refer to SIR Disabling and Enabling.
 Removal Procedure
Warning: Refer to Approved Equipment for Collision Repair Warning in the
Preface section.
Warning: Refer to Glass and Sheet Metal Handling Warning in the Preface section.
Disable the SIR Syst ...
 Tail Lamp Pocket Replacement (MIG-Brazing)
Note: According to different corrosion warranties, only the
regional mandatory joining methods are allowed. ...
Other materials:
Tire Pressure Monitor
This vehicle may have a Tire Pressure Monitor System (TPMS).
The low tire pressure warning light alerts to a significant loss in pressure
of one of the vehicle's tires. If the warning light comes on, stop as soon as possible
and inflate the tires to the recommended pressure shown on the T ...
Installation Procedure
Remove the front wheelhouse rear panel brace (1) from service panel.
Create 6 x 20 mm (4/16 x 12/16 in) slots for MIG-brazing along the edges
of the front wheelhouse (1).
Clean and prepare the attaching surfaces for brazing.
Note: In MIG-brazing areas 50 mm (2 in) must b ...
Compass
The vehicle may have a compass display in the Driver Information Center (DIC).
The compass receives its heading and other information from the Global Positioning
System (GPS) antenna, StabiliTrak, and vehicle speed information.
Avoid covering the GPS antenna, located on the roof, for long perio ...
