Chevrolet Cruze Repair Manual: Rear Side Door Weatherstrip Replacement - Body Side
Rear Side Door Weatherstrip - Body Side
Procedure
- Start at the front upper corner of the door opening and pull the weatherstrip away from the door opening flange.
- Position the weatherstrip in the upper corner of the center pillar.
- Working downward along the front edge, install the weatherstrip on the door opening flange ensuring that the carrier is fully seated in the corners.
- Using a rubber mallet, ensure that the weatherstrip is seated on the entire door opening flange.
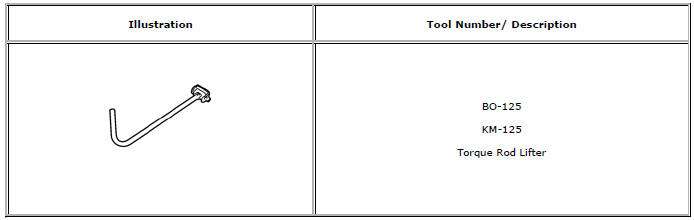
Special Tools and Equipment
 Rear Side Door Weatherstrip Replacement - Door Side
Rear Side Door Check Bolt
Caution: Refer to Fastener Caution in the Preface section.
Tighten
25 N·m (19 lb ft)
Rear Side Door Weatherstrip - Door Side
Procedure
Unclip weather ...
 Bumpers and Fascias
Specifications
Front Bumper Energy Absorber Replacement
Preliminary Procedure
Remove the front bumper fascia. Refer to Front Bumper Fascia Replacement.
Front Bumper Energy Absorber
P ...
Other materials:
Compact Spare Tire
WARNING
Driving with more than one compact spare tire at a time could result in loss
of braking and handling. This could lead to a crash and you or others could be injured.
Use only one compact spare tire at a time.
If this vehicle has a compact spare tire, it was fully inflated when new; howe ...
Pictures
Pictures can only be viewed using USB devices. If pictures are on an SD card,
transfer to a USB device or use a USB-SD adapter. File sizes above approximately
four mega pixels may not show. Only jpeg, bmp, gif, and png files are supported.
1. Press the Pictures screen button on the Home Page.
...
Satellite Radio
Vehicles with a SiriusXM® satellite radio tuner and a valid SiriusXM satellite
radio subscription can receive SiriusXM programming.
SiriusXM Satellite Radio Service
SiriusXM is a satellite radio service based in the 48 contiguous United States
and 10 Canadian provinces.
SiriusXM satellite rad ...
