Chevrolet Cruze Repair Manual: Removal Procedure
Warning: Refer to Approved Equipment for Collision Repair Warning in the Preface section.
Warning: Refer to Glass and Sheet Metal Handling Warning in the Preface section.
- Disable the SIR System. Refer to SIR Disabling and Enabling.
- Disconnect the negative battery cable. Refer to Battery Negative Cable Disconnection and Connection.
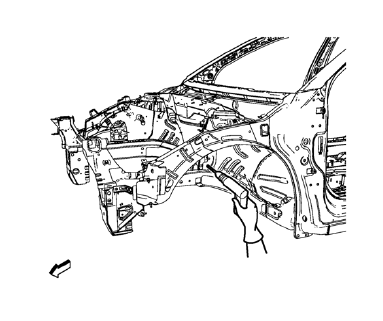
- Remove all related panels and components.
- Visually inspect the damage. Repair as much of the damage as possible.
- Remove the sealers and anti-corrosion materials from the repair area, as necessary. Refer to Anti-Corrosion Treatment and Repair.
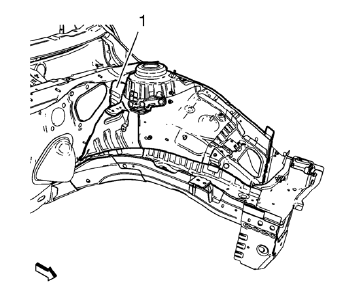
Note: Front wheelhouse rear panel brace (1) remains to the body.
- Locate and mark all the necessary factory welds of the front wheelhouse.
- Drill all factory welds. Note the number and location of welds for installation of the service assembly.
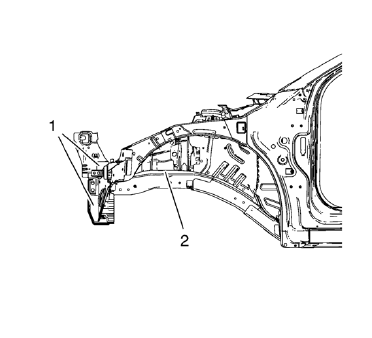
- Cut the adhesive in the front area (1) and where the front wheelhouse and the front compartment side rail overlap (2) with an appropriate tool.
- Remove the front wheelhouse.
 Front Wheelhouse Panel Replacement (MAG-Welding)
Note: According to different corrosion warranties, only the
regional mandatory joining methods are allowed. ...
 Installation Procedure
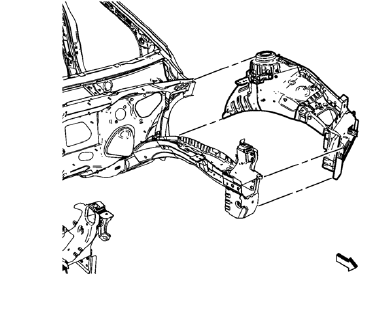
Remove the front wheelhouse rear panel brace (1) from service panel.
Drill 8 mm (5/16 in) for plug welding instead of the adhesive noted from
the front area of the original panel.
...
Other materials:
Water Hose Test
Note: Use a water hose without the nozzle attached.
Have an assistant inside of the vehicle i 1. n order to locate the leak.
Begin testing at the base of the window or the windshield.
Slowly move the hose upward and across the top of the vehicle.
...
AM-FM Radio
Control Buttons
The buttons used to control the radio are: BAND: Press to turn the radio
on and choose between AM, FM, and SiriusXM®, if equipped.
MENU/SEL: Turn to navigate the available menus and to search for stations.
INFO: Press to display additional information that may be available for
...
Rear Bumper Fascia Guide Replacement
Preliminary Procedure
Remove the rear bumper fascia. Refer to Rear Bumper Fascia Replacement.
Rear Bumper Fascia Guide Rivet (Qty: 4)
Special Tools
BO-594-A Hand Rivet Tongs
For equivalent regional tools, refer to Special Tools.
Rear Bumper Fascia Guide
Rear Bumper Fascia Inner ...
