Chevrolet Cruze Repair Manual: Front Side Door Trim Replacement
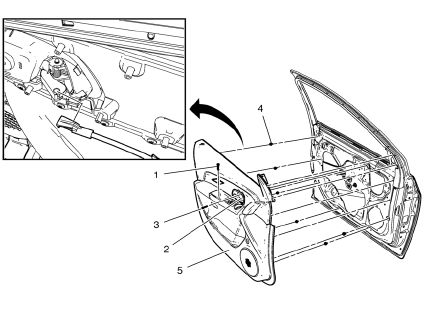
- Front Side Door Pull Handle Bolt
Caution: Refer to Fastener Caution in the Preface section.
Tighten 2 N·m (18 lb in)
- Front Side Door Inside Handle Bolt Finish Cap
Tip Pull handle back to remove cap. Use suitable tool to unsnap.
- Front Side Door Inside Handle Bolt
Tighten 2.5 N·m (22 lb in)
- Front Side Door Trim Clip (Qty: 10)
- Front Side Door Trim Assembly
Procedure
- Pull upwards on the door lock retainer cable to disengage.
- Disconnect the electrical connectors.
Front Side Door Water Deflector Replacement

Preliminary Procedure
Remove the front side door trim. Refer to Front Side Door Trim Replacement.
- Front Side Door Water Deflector
Procedure
Pull the water deflector from the door. Guide electrical connectors through the water deflector while removing it from the door.
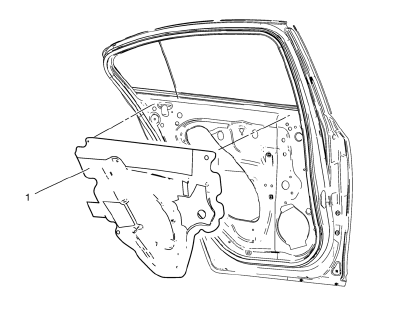
Rear Side Door Water Deflector Replacement
Preliminary Procedure
Remove the rear side door trim. Refer to Rear Side Door Trim Replacement.
Rear Side Door Water Deflector
Procedure
- Pull the water deflector from the door. Guide electrical connectors through the water deflector while removing it from the door.
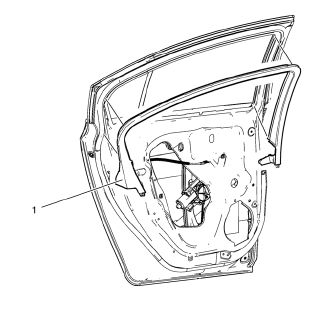
Rear Side Door Window Garnish Molding Replacement
Preliminary Procedure
Remove the rear side door trim. Refer to Rear Side Door Trim Replacement.
- Rear Side Door Window Garnish Molding Assembly.
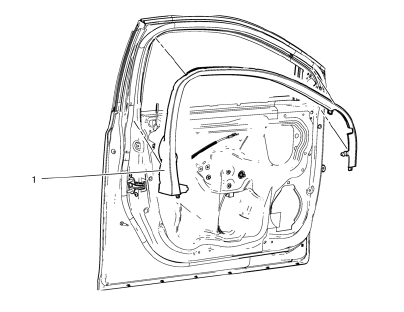
Front Side Door Window Garnish Molding Replacement
Preliminary Procedure
Remove the front side door trim. Refer to Front Side Door Trim Replacement.
- Front Side Door Window Garnish Molding Assembly.
Front Side Door Sill Trim Plate Replacement
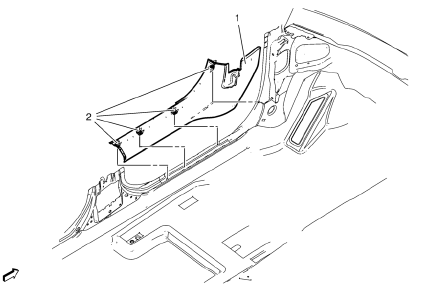
- Front Side Door Sill Trim Plate Assembly.
- Front Side Door Sill Trim Plate Assembly Clip (Qty: 5).
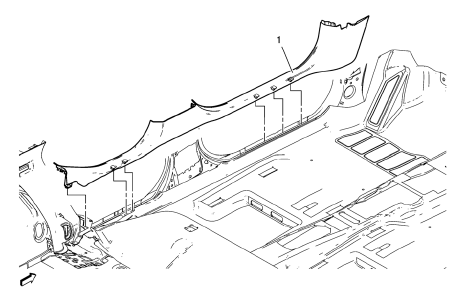
Rear Side Door Sill Trim Plate Replacement
- Rear Side Door Sill Trim Plate Replacement Assembly.
- Rear Side Door Sill Trim Plate Replacement Assembly Clip (Qty: 2).
Front and Rear Side Door Sill Trim Plate Replacement
- Front and Rear Side Door Sill Trim Plate
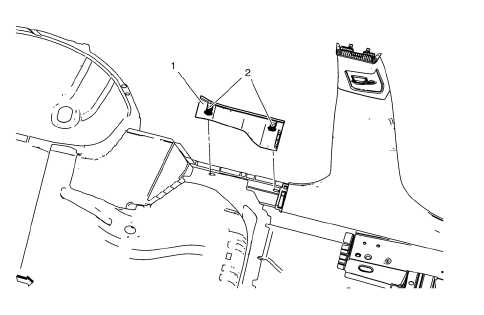
Assist Handle Replacement
- Assist Handle Screw (Qty: 2)
Caution: Refer to Fastener Caution in the Preface section.
Procedure
- Fold the assist handle downward and hold.
- Use a small flat-bladed tool to open the assist handle covers to access the screws.
Tighten 6 N·m (53 lb in)
- Assist Handle Assembly
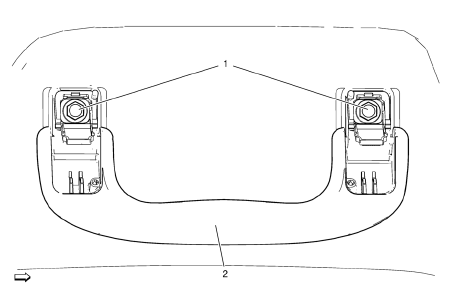
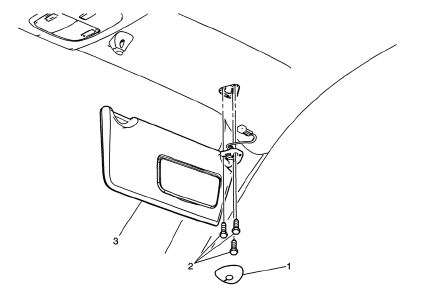
Sunshade Replacement
Preliminary Procedure
Lower the front of the headliner to access the sunshade electrical connector, if necessary. Refer to Headlining Trim Panel Replacement.
- Sunshade Support Bolt Cover
- Sunshade Screws (Qty: 3)
Caution: Refer to Fastener Caution in the Preface section.
Tighten 3 N·m (27 lb in)
- Sunshade Assembly
Sunshade Support Replacement
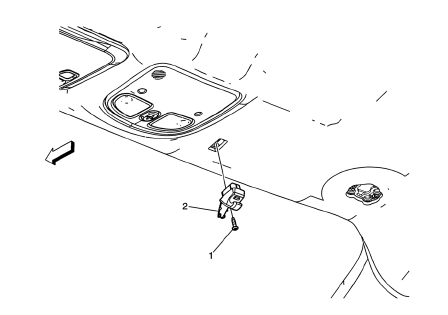
Preliminary Procedure
Remove sunshade assembly. Refer to Sunshade Replacement.
- Sunshade Support Screw.
Caution: Refer to Fastener Caution in the Preface section.
Tighten 3 N·m (27 lb in).
- Sunshade Support Assembly.
 Interior Trim and Paneling
Specifications
Front Side Door Window Switch Bezel Replacement
Preliminary Procedure
Remove the front side door trim. Refer to Front Side Door Trim Replacement.
Front Side Door Window S ...
 Windshield Garnish Molding Replacement
Preliminary Procedure
Disable the SIR system. Refer to SIR Disabling and Enabling.
Windshield Garnish Molding Assembly
Procedure
Loosen tether clip and steel clips.
Disconnect ...
Other materials:
Automatic Transmission Shift Lock Control Function Check
WARNING
When you are doing this inspection, the vehicle could move suddenly. If the
vehicle moves, you or others could be injured.
1. Before starting this check, be sure there is enough room around the vehicle.
It should be parked on a level surface.
2. Firmly apply the parking brake.
Be rea ...
Traction Control System (TCS)
The vehicle has a Traction Control System (TCS) that limits wheel spin.
On a front-wheel-drive vehicle, the system operates if it senses that one or
both of the front wheels are spinning or beginning to lose traction. When this happens,
the system brakes the spinning wheel(s), and/or reduces en ...
Vehicle Personalization
The audio system controls are used to access the personalization menus for customizing
vehicle features.
CONFIG (Configuration): Press to access the Configuration Settings menu.
MENU/SEL: Press the center of this knob to enter the menus and select
menu items. Turn the knob to scroll through th ...
