Chevrolet Cruze Repair Manual: Rear Compartment Lid Emblem/Nameplate Replacement (Rear Emblem)
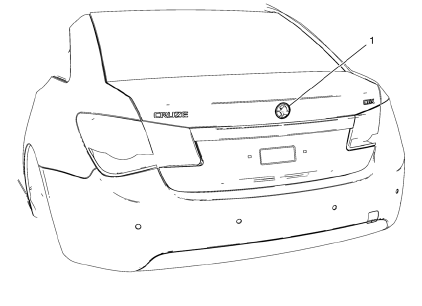
Rear Compartment Lid Emblem Assembly
Caution: Refer to Exterior Trim Emblem Removal Caution in the Preface section.
Procedure
- The part and surface should be 21°C (70°F) prior to installation. The vehicle should remain 21°C (70°F) for one hour after assembly to allow adhesive to develop sufficient bond strength.
- Use a Heat Gun or equivalent to remove the old nameplate. Clean all adhesive from the rear compartment panel and wipe the surface dry with a clean lint-free towel prior to installing the new nameplate
- When removing protective liners from the adhesive tape, be careful not to touch tape with hands and do not allow tape to come in contact with dirt or any foreign matter prior to adhesion.
- Close the rear compartment lid prior to adhesion.
- Using the palm of the hand, wet out the emblem to the rear compartment lid to ensure full adhesion of the emblem is made.
 Rear Compartment Lid Emblem/Nameplate Replacement (Cruze - Left Side)
Rear Compartment Lid Emblem Assembly
Caution: Refer to Exterior Trim Emblem Removal Caution in the Preface
section.
Procedure
The part and surface should be 21°C (70°F) prior to installati ...
 Rear Compartment Lid Emblem/Nameplate Replacement (LT or LTZ)
Rear Compartment Lid Emblem Assembly
Caution: Refer to Exterior Trim Emblem Removal Caution in the
Preface section.
Procedure
The part and surface should be 21°C (70°F) prior to installati ...
Other materials:
Stationary Window Waterleak Repair
Note: If any water enters the vehicle interior up to the level of
the carpet or higher and soaks the carpet, the sensing and diagnostic
module (SDM) and the SDM harness connector may need to be replaced. The SDM
could be activated when powered, which could
cause deployment of the air bag(s) an ...
Parking Brake
To apply the parking brake, pull up on the parking brake handle. It is not necessary
to push in on the release button while applying the parking brake. If the ignition
is in the ON/RUN position, the brake system warning light will come on.
To release the parking brake:
1. Hold the brake peda ...
Washer Fluid
What to Use
When windshield washer fluid is needed, be sure to read the manufacturer's instructions
before use. If operating the vehicle in an area where the temperature may fall below
freezing, use a fluid that has sufficient protection against freezing.
Adding Washer Fluid
Open the ca ...
