Chevrolet Cruze Repair Manual: Rear Side Door Weatherstrip Replacement - Body Side
Rear Side Door Weatherstrip - Body Side
Procedure
- Start at the front upper corner of the door opening and pull the weatherstrip away from the door opening flange.
- Position the weatherstrip in the upper corner of the center pillar.
- Working downward along the front edge, install the weatherstrip on the door opening flange ensuring that the carrier is fully seated in the corners.
- Using a rubber mallet, ensure that the weatherstrip is seated on the entire door opening flange.
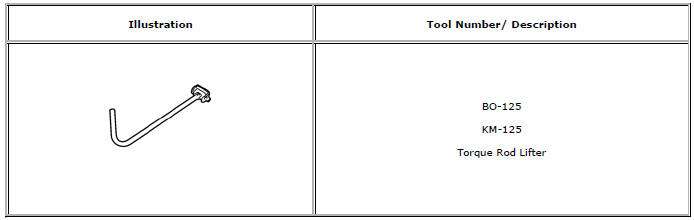
Special Tools and Equipment
 Rear Side Door Weatherstrip Replacement - Door Side
Rear Side Door Check Bolt
Caution: Refer to Fastener Caution in the Preface section.
Tighten
25 N·m (19 lb ft)
Rear Side Door Weatherstrip - Door Side
Procedure
Unclip weather ...
 Bumpers and Fascias
Specifications
Front Bumper Energy Absorber Replacement
Preliminary Procedure
Remove the front bumper fascia. Refer to Front Bumper Fascia Replacement.
Front Bumper Energy Absorber
P ...
Other materials:
Rear Vision Camera (RVC)
This vehicle may have the RVC system. Read this entire section before using it.
The RVC system can assist the driver when backing up by displaying a view of
the area behind the vehicle.
WARNING
The RVC system does not display children, pedestrians, bicyclists, animals,
or any other object loc ...
Tire Pressure
Tires need the correct amount of air pressure to operate effectively.
Notice: Neither tire underinflation nor overinflation is good.
Underinflated tires, or tires that do not have enough air, can result in:
• Tire overloading and overheating which could lead to a blowout.
• Premature or irregula ...
Horns
Specifications
Horn Replacement
Preliminary Procedure
Remove the front bumper fascia. Refer to Front Bumper Fascia Replacement.
Horn Nut
Caution: Refer to Fastener Caution in the Preface section.
Tighten
17 N·m (13 lb ft)
Horn
Tip
Disconnect electrical connectors.
St ...
