Chevrolet Cruze Repair Manual: Installation Procedure

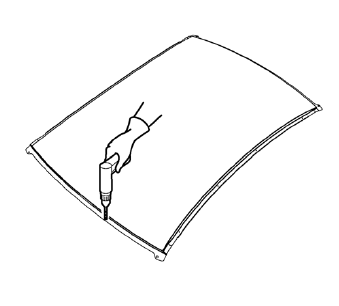
- Drill 8 mm (5/16 in) for plug welding along the edges of the service panel as noted from the original panel.
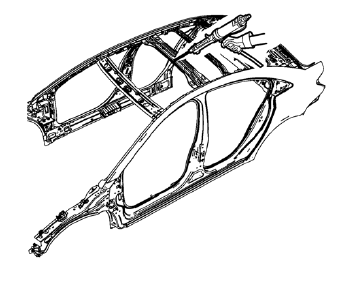
- Clean and prepare the attaching surfaces for welding.

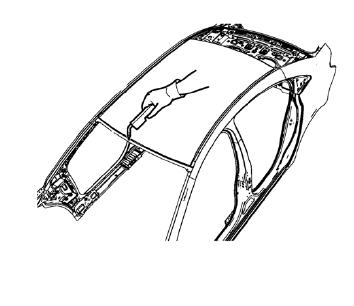
- Apply one-part windshield urethane adhesive as noted from the original panel.

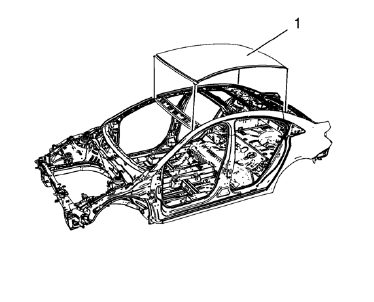
- Position the roof panel (1) on the vehicle.
- Verify the fit of the panel.
- Clamp the panel into position.

- Plug weld accordingly.
- Apply the sealers and anti-corrosion materials to the repair area, as necessary. Refer to Anti-Corrosion Treatment and Repair.
- Paint the repaired area. Refer to Basecoat/Clearcoat Paint Systems.
- Install all related panels and components.
- Connect the negative battery cable. Refer to Battery Negative Cable Disconnection and Connection.
- Enable the SIR system. Refer to SIR Disabling and Enabling.
 Removal Procedure
Warning: Refer to Approved Equipment for Collision Repair Warning in
the Preface section.
Disable the SIR System. Refer to SIR Disabling
and Enabling.
Disconnect the negative battery ...
 Roof Outer Panel Replacement (MIG-Brazing)
Note: According to different corrosion warranties, only the
regional mandatory joining methods are allowed. ...
Other materials:
AM-FM Radio
Playing the Radio
(Power/Volume):
• Press to turn the radio on or off.
• Turn to increase or decrease the volume of the active source.
The steering wheel controls can also be used to adjust the volume.
Radio Operation
The radio will work when the key is in ON/RUN or ACC/ ACCESSORY. When ...
Trailer Towing (Except Fuel Economy Model)
Before pulling a trailer, there are three important considerations that have
to do with weight:
• The weight of the trailer.
• The weight of the trailer tongue.
• The total weight on your vehicle's tires.
Weight of the Trailer
How heavy can a trailer safely be? It should never weigh more ...
Removal Procedure
Warning: Refer to Approved Equipment for Collision Repair Warning in the
Preface section.
Warning: Refer to Glass and Sheet Metal Handling Warning in the Preface section.
Disable the SIR System. Refer to SIR Disabling and Enabling.
Disconnect the negative battery cable. Refer ...
