Chevrolet Cruze Repair Manual: Installation Procedure
- Prepare all mating surfaces as necessary.
- Align the body lock pillar outer panel reinforcement.
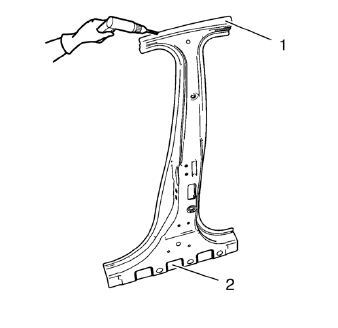
- Create 8 x 24 mm (5/16 x 15/16 in) slots for MIG-brazing upper (1) and lower (2).
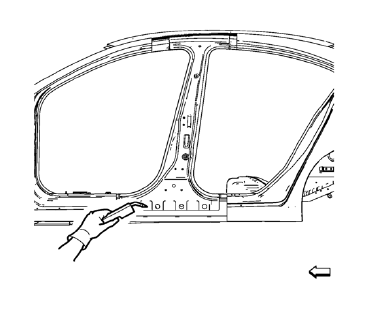
- Clean and prepare the attaching surfaces for spot welding and brazing.
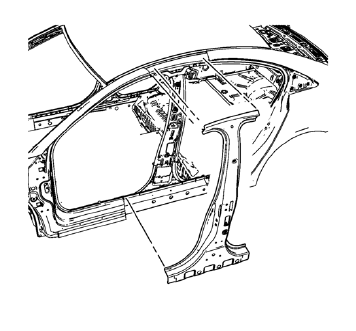
- Position the body lock pillar outer panel reinforcement on the vehicle.
- Verify the fit of the body lock pillar outer panel reinforcement
- Clamp the body lock pillar outer panel reinforcement into position.
- Braze accordingly.
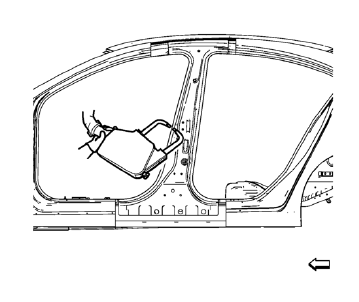
- Spot weld accordingly
- Apply the sealers and anti-corrosion materials to the repair area, as necessary. Refer to Anti-Corrosion Treatment and Repair.
- Paint the repaired area. Refer to Basecoat/Clearcoat Paint Systems.
- Install all related panels and components.
- Connect the negative battery cable. Refer to Battery Negative Cable Disconnection and Connection.
- Enable the SIR system. Refer to SIR Disabling and Enabling.
 Removal Procedure
Warning: Refer to Approved Equipment for Collision Repair Warning in the
Preface section.
Warning: Refer to Glass and Sheet Metal Handling Warning in the Preface section.
Disable the SIR Syst ...
 Body Lock Pillar Inner Panel Replacement (MAG-Welding)
Note: According to different corrosion warranties, only the
regional mandatory joining methods are allowed. ...
Other materials:
Hazard Warning Flashers
(Hazard Warning Flasher):
Press and momentarily hold this button on the instrument panel above the climate
control system, to make the front and rear turn signal lamps flash on and off. This
warns others that you are having trouble.
Press and momentarily hold again to turn the flashers off ...
Removal Procedure
Remove the drivetrain and front suspension frame. Refer to Drivetrain
and Front Suspension Frame Replacement.
Mark Installation position of insulator (2) at frame (1).
Cut out frame insulator core (1) from frame insulator (2).
Note: On the rear insulator dril ...
Windshield Wiper Arm Replacement
Windshield Washer Arm Finish Cap
Tip
Use a small flat-bladed tool to remove finish cap.
Special Tools
BO-6626 Wiper Arm Puller
For equivalent regional tools, refer to Special Tools.
Windshield Washer Arm Nut
Caution: Refer to Fastener Caution in the Preface section.
Procedure
...
