Chevrolet Cruze Repair Manual: Removal Procedure
Warning: Refer to Approved Equipment for Collision Repair Warning in the Preface section.
Warning: Refer to Glass and Sheet Metal Handling Warning in the Preface section.
- Disable the SIR System. Refer to SIR Disabling and Enabling.
- Disconnect the negative battery cable. Refer to Battery Negative Cable Disconnection and Connection
- Remove all related panels and components.
- Visually inspect the damage. Repair as much of the damage as possible.
- Remove the sealers and anti-corrosion materials from the repair area, as necessary. Refer to Anti-Corrosion Treatment and Repair.

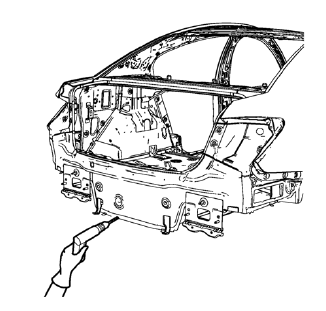
- Locate and mark all the necessary factory welds of the body rear end panel.
Note: Note the number and location of welds for installation of the service assembly.
- Drill all factory welds.

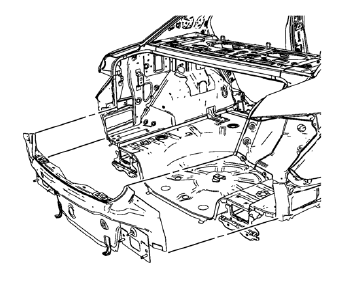
- Remove the body rear end panel.
 Body Rear End Panel Replacement (MAG-Welding)
Note: According to different corrosion warranties, only the
regional mandatory joining methods are allowed. ...
 Installation Procedure
Note: If the location of the original plug weld holes can not be
determined, space the plug weld holes every 40 mm (1½ in).
Drill 8 mm (5/16 in) for plug welding along the edges of th ...
Other materials:
Removal Procedure
Warning: Refer to Approved Equipment for Collision Repair Warning in the
Preface section.
Warning: Refer to Collision Sectioning Warning in the Preface section.
Warning: Refer to Glass and Sheet Metal Handling Warning in the Preface section.
Disable the SIR System. Refer to SIR Disabling ...
Frontal SIR System Description
The frontal supplemental inflatable restraint (SIR) system consists of the
following components:
AIR BAG indicator located in the instrument cluster
Inflatable restraint sensing and diagnostic module (SDM)
Inflatable restraint passenger presence detection system
Inflatable restraint Pass ...
Front Suspension Description and Operation
The front suspension has 2 primary purposes:
Isolate the driver from irregularities in the road surface.
Define the ride and handling characteristics of the vehicle.
The front suspension absorbs the impact of the tires travelling over
irregular road surfaces and dissipates this energy thr ...
